Slop Happens
Written by Cassidy Stoner
If you’ve been working with clay for any amount of time, I’m sure you’ve heard that clay dust isn’t good and cleaning is important. But do you know why?
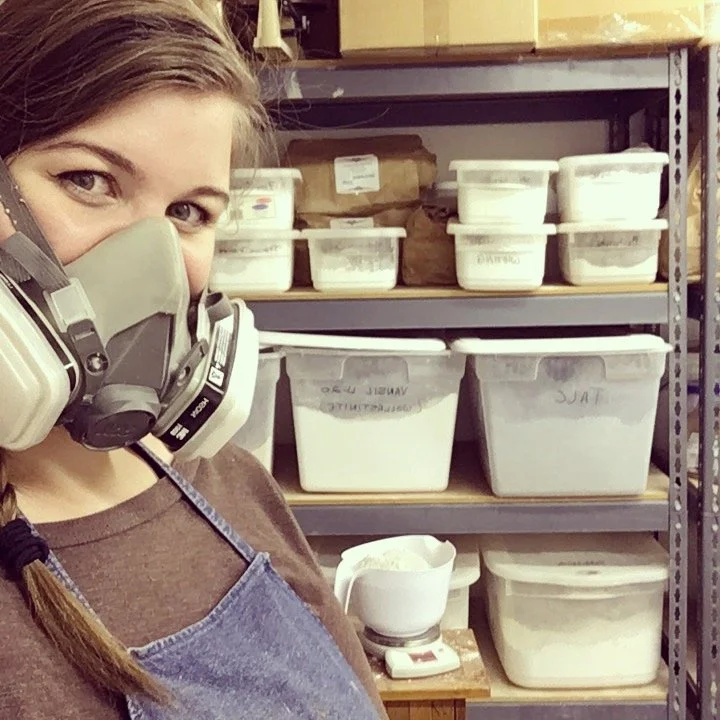
Clay and clay supplies such as glazes are all made with various powdered minerals, such as silica, copper, and manganese. While wet, these particles are typically safe to interact with; what you want to avoid is allowing them to dry and turn into dust, which then gets kicked up into the air that you breathe. Over time, excess exposure to these airborne particles could have adverse effects on your health, such as silicosis, a serious lung disease. The good news is, as long as you maintain a low dust environment in the studio, you should have nothing to worry about.
Maybe you already knew all that- but what about the idea that keeping your hands and space clean actually leads to better outcomes with your pottery? It’s true! Both wet and dry clay residue on your hands, tools, or work surfaces can transfer onto your pottery, which can cause issues all throughout your process. Think mysterious dents and sharp pokey bits, messy attachments and crawling glaze. Even just having wet, clean hands can cause big issues.
Luckily the solution is pretty simple - regularly clean up WET (with Water, Early, and Thoroughly) and you should be able to keep the mess to a minimum. Keep reading for my best tips and tricks for every area of the studio!
Clean Hands Always
This one might seem obvious, but if you leave wet clay on your hands and touch things (tools, pots, wareboards, shelves) that clay will transfer and then eventually dry and turn into dust. Letting clay dry on your hands means it is turning in to dust right in your face, and potentially leaving a dust trail as you walk around! Build a habit of cleaning your hands regularly. I like to get myself a second full bucket of water with a big sponge that I use only for hand cleaning while I’m working.
... And Clean Tools Always, Too
Similarly, if your clay tools, ware plastic, apron or cubby are touched with dirty hands they’ll become crusty with dry clay, which can and will leave marks on your pots, and definitely creates a lot of dust, too. Prevent crusty tools by starting with clean hands! However, dust settles and messes do happen, even to the most meticulous potter. Solve this by fully cleaning your tools and cubby a minimum of once per session- during the break week is a great time, as we are deep cleaning the rest of the studio!
Aprons should be washed weekly or as soon as you can see visible clay build up. Toss dirty aprons in our studio washing machine after your class and we’ll get it clean and hung back up on the wall!
Stay Calm
Dry clay minding its own business doesn’t create dust; it’s when force is applied that it poofs up into the air. Things like clapping your hands together, shaking out a towel/apron/plastic, or tossing things around creates both dust and the wind to move it around. So stay calm! Generally try to move slowly and deliberately in the studio and the clay will stay calm too. This has the huge added bonus that you’re less likely to accidentally poke your pots while moving deliberately. A win-win! If you realize you have kicked up dust into the air - you can often see or sometimes even smell the particles floating around - grab a water spray bottle and spritz the air to pull that dust right down to the floor.
The Magic Bucket Dump
Efficient clean up is easy clean up, and this trick really does work like magic.
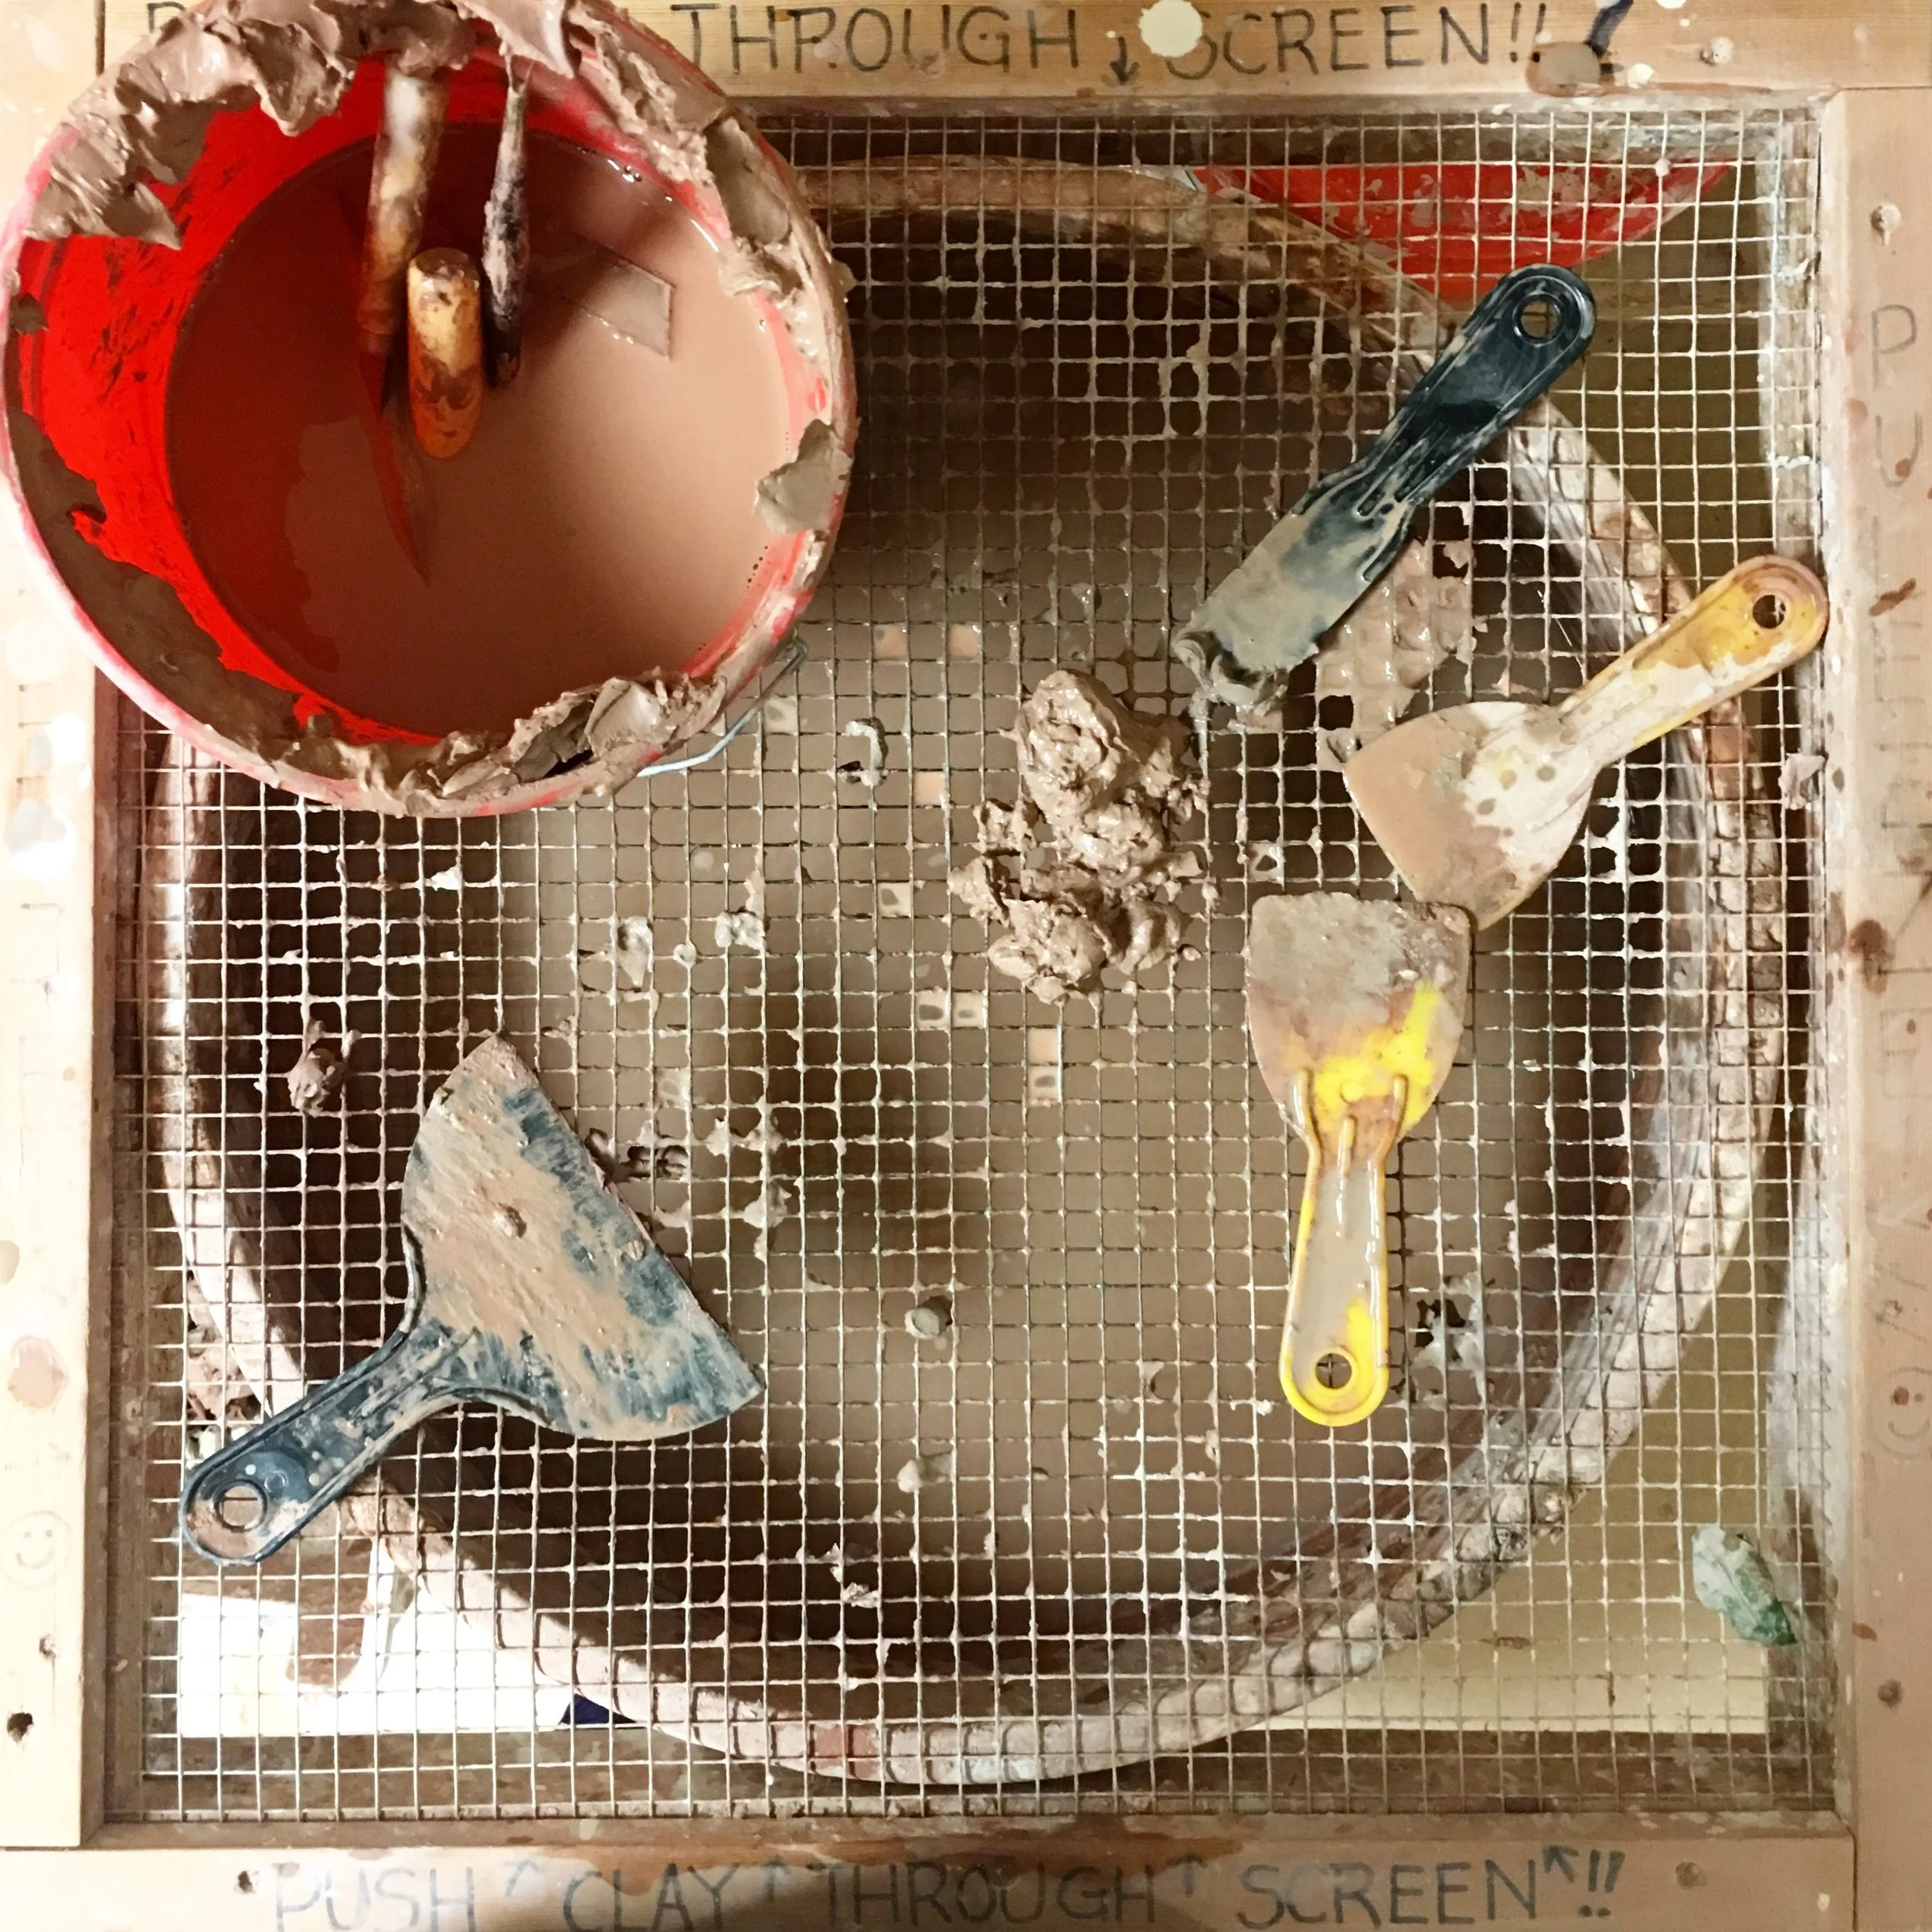
Wipe the rim first- Before dumping, use a sponge to wipe the bucket rim clean and push all clay down into the water.
Spiral the sponge- Touch your sponge to the inside wall of the bucket and spiral downwards, making contact with all the sides, the corner, and the bottom of the bucket. As you do this, the water should start spinning in a whirlpool.
Let go and dump- Release the sponge! While the water is still spinning, immediately dump the bucket into the reclaim bin. The spinning motion pulls the clay down and out leaving you with a nearly clean bucket.
Rinse and reset- Rinse the bucket and refill full with clean water before continuing clean up elsewhere.
What goes where?
Dry clay - dry reclaim bin
Wet clay slop - wet reclaim bin
Lightly dirty water (no chunks, or glaze only) - sink
Unwanted bisque fired pots - trash!! Absolutely no bisque in the reclaim bins!!
The Returning Messiness
You wipe everything clean, walk away, and when you come back there is a visible residue all over the surface that seemed clean a moment before. Ugh!! Simply, your cleanup water is too dirty, and while you’re getting up the big chunks, you’re actually making more dust for the future. During cleanup, I recommend a FULL bucket of fresh water and one of the bigger sponges- if your water is opaque (you can’t see the sponge when it’s dropped in), then it’s time for fresh cleaning water. If you swipe a surface and your sponge looks even lightly clay stained, wipe again until it comes up clean.
Towels and Aprons (and the washing machine)
These are here specifically to catch our mess-but leaving mud all over your fabric items is maybe the WORST culprit for dust. Not only does it flake off easy with every fold and shake, it’s directly on your body, where you’re most likely to breathe in the particles. Wash your towels and aprons as soon as you can see visible clay on it- this is after only one use for many people!! Toss it in our studio washing machine after every class to keep yourself and others healthy and the studio dust free. We run the washing machine regularly and will hang everything back up in the studio for you to use again!
Wheel Clean Up
I get that it seems fastest and easiest to clean up your wheel tray at the sinks, but give this a try, and I bet you’ll like this method better! After you finish throwing, you:
1. Open up your splash pan, and use your sponge to push as much clay residue as possible into your slop bucket. Do the same with your bat, wheel tray, and any other areas where large clay scraps/residue is hanging out. Trimming scraps get dumped into the dry scrap bin, but otherwise trays stay at the wheel.
2. Go dump out your bucket using the Magic Bucket Dump. Bring back a full bucket of clean water and a big sponge to your seat at the wheel.
3. Sit down and get comfy while you wipe everything clean!
3a. Sponge your bat clean with it spinning, using a wet sponge to wipe the entire surface and edge until your sponge comes up clean, and a finger pressed in the center to keep it in place. Bats should be fully clean on both sides and the edge before they get put away!
3b. Wipe each piece of your splash pan, inside and out, with clean hands so you’re not getting things dirty at the same time. Set them out of the way in the center tables while you wipe the wheel table.
4. Check and clean your splash zone - the center tables, the floor, and any other areas you might have been working in the studio.
Handbuilding Clean Up
There is generally less wet clay, but far more dusty dry clay in handbuilding. For clean up in the handbuilding area, you want to:
1. Use a sponge to push all dry scrap into one pile on your work surface. If it’s on a board, you can carry that into the recycling area to dump gently into the scrap bin, otherwise use your damp sponge to scoop dry scrap up and into a bucket.
2. Go dump out your bucket using the Magic Bucket Dump. Bring back a full bucket of clean water and a big sponge to your work table.
3. With a full bucket of fresh water, clean your work boards, forms, and tools until your sponge comes up clean. This will take a number of swipes over the work boards!!
4. Check and clean your splash/dust zone - the entire table space you were using as well as the surrounding floor, and any other areas you may have been using in the studio.
Glaze Room Clean Up
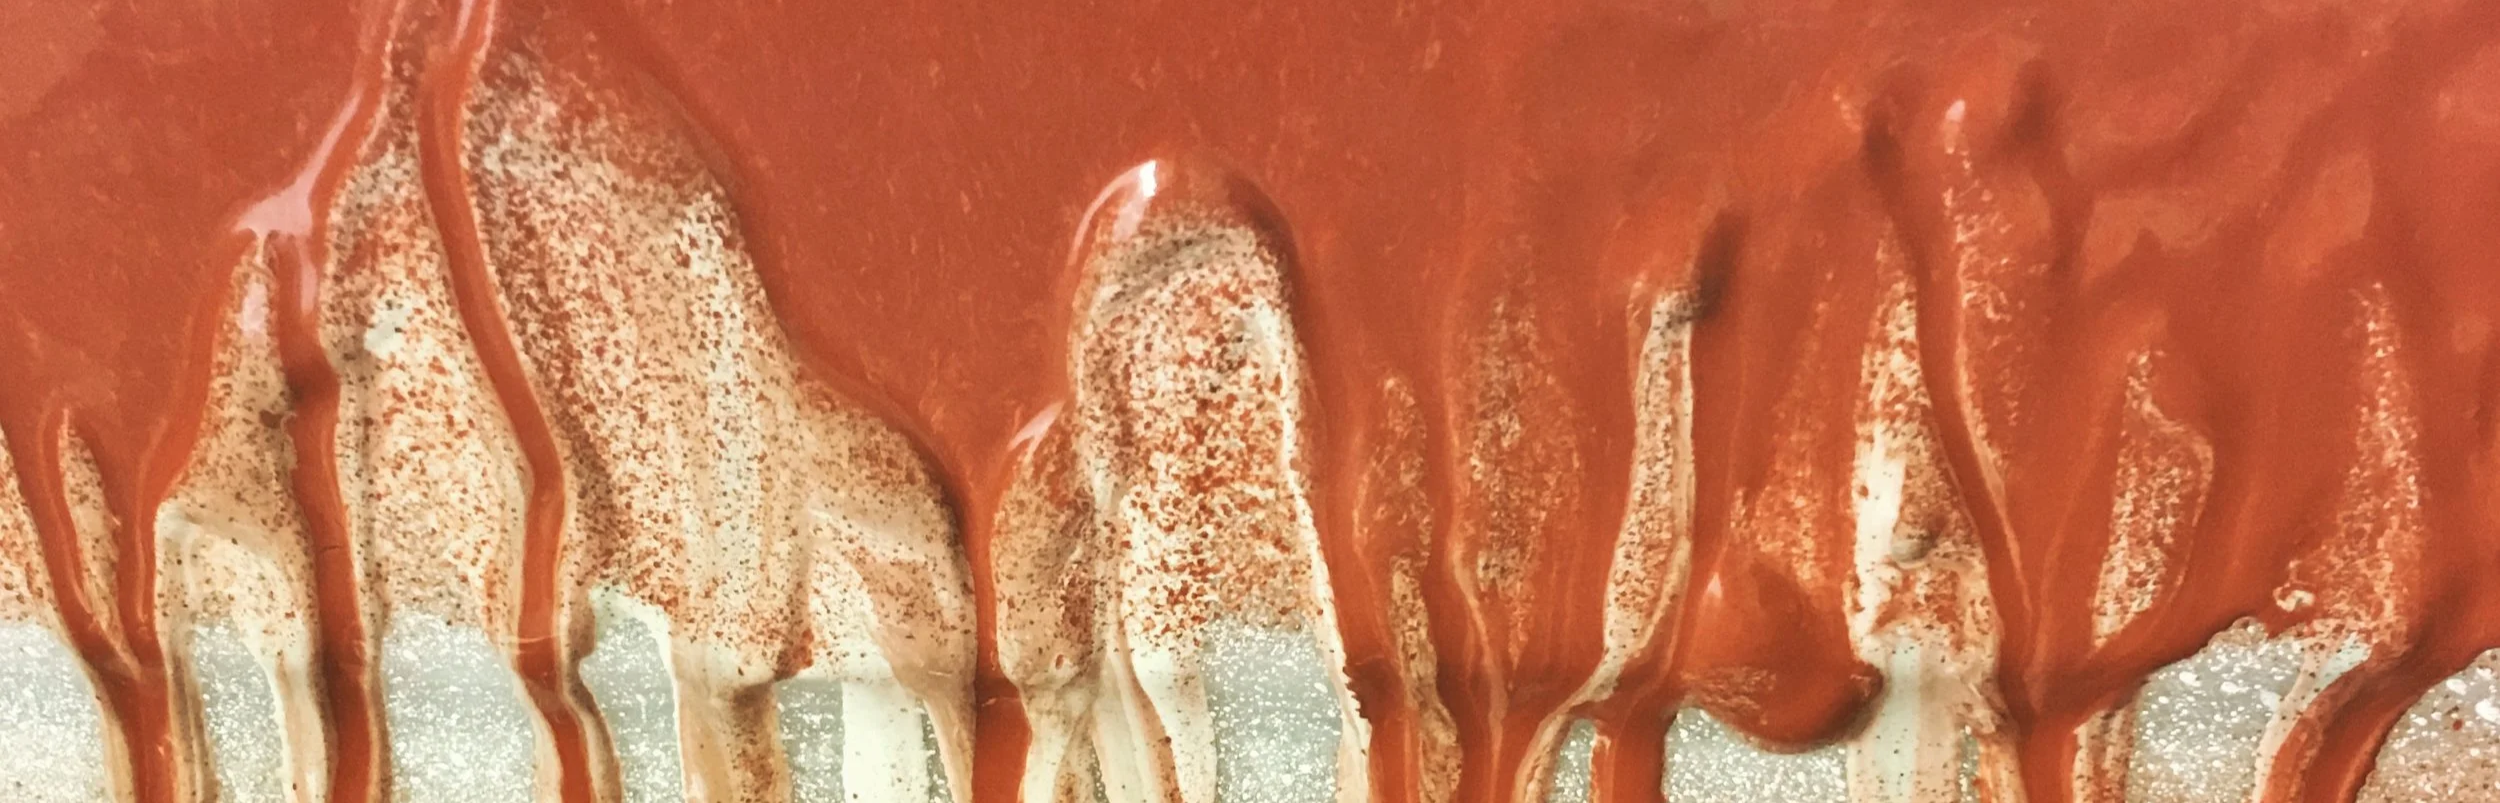
Ah, the glaze room. Does anyone else feel like their brain gets melted when they go to glaze? There is so much to remember that cleanup might feel like an afterthought, and yet cleanup in the glaze room is perhaps the most important of all. From wax spills to glaze drips, messiness in the glaze room can have big repercussions. Glazes contain the most toxic chemicals that you will encounter in the clay studio and should be handled with care. Glaze drips happen constantly in the studio, which it is normal and to be expected, but it is crucial that they should be cleaned up as soon as possible, always. Clean up procedure in the glaze room is not one moment at the end, but an ongoing process for the duration:
1. Start glazing with a full bucket of fresh water, a big sponge, and a little sponge. Refresh this bucket VERY regularly, as soon as you notice your water is opaque.
2. After mixing your glaze with a stir stick, remove the excess glaze from the stick by pinching it with your fingers and swiping it mostly clean, then immediately following with a sponge to fully clean the stir stick. Please do not wipe the stick on the edge of the bucket; this causes dry chunks to form and fall into the glaze, which then stick onto the sides of your pot and cause irregularities in the glaze surface.
3. Every time you put a lid back on a glaze bucket, use that moment to double-check the bucket, dolly, floor, and table for glaze drips. Wipe every single drip, even if you don’t think you’re the one who caused it!
4. After you’ve finished glazing, come back into the glaze room with a fresh bucket of water and take a good look at the entire area, cleaning any remaining spills from any surfaces. Finish up by doing a final wipe of the work table, checking that your sponge comes up clean - this will almost certainly take more swipes/rinses than you think!
There’s no denying that proper clean up is a huge part of working with clay. Luckily, what’s good for us and our health is also good for our art, and there’s no better time than the present to start making positive changes, if you haven’t already! Hopefully these tips make cleaning in the studio faster and easier than ever. What cleaning practice has made the biggest difference for you?