Pinholing in Drippy Glazes
Written by Alicia Williams
Have you ever had that gut-punch feeling happen to you right before you glaze? That little voice inside your head that says, “I really don’t want to do this.” We all know learning ceramic skills is a feat in itself. When you have to commit to the finish of a piece and it doesn’t come out as planned, it’s very disheartening. The abundance of potters I’ve heard say, “I hate glazing,” is notable. I ended up taking on that belief myself, but I was still curious. I decided to change my narrative and find some glazes that inspired me.
First things first, what do I like?
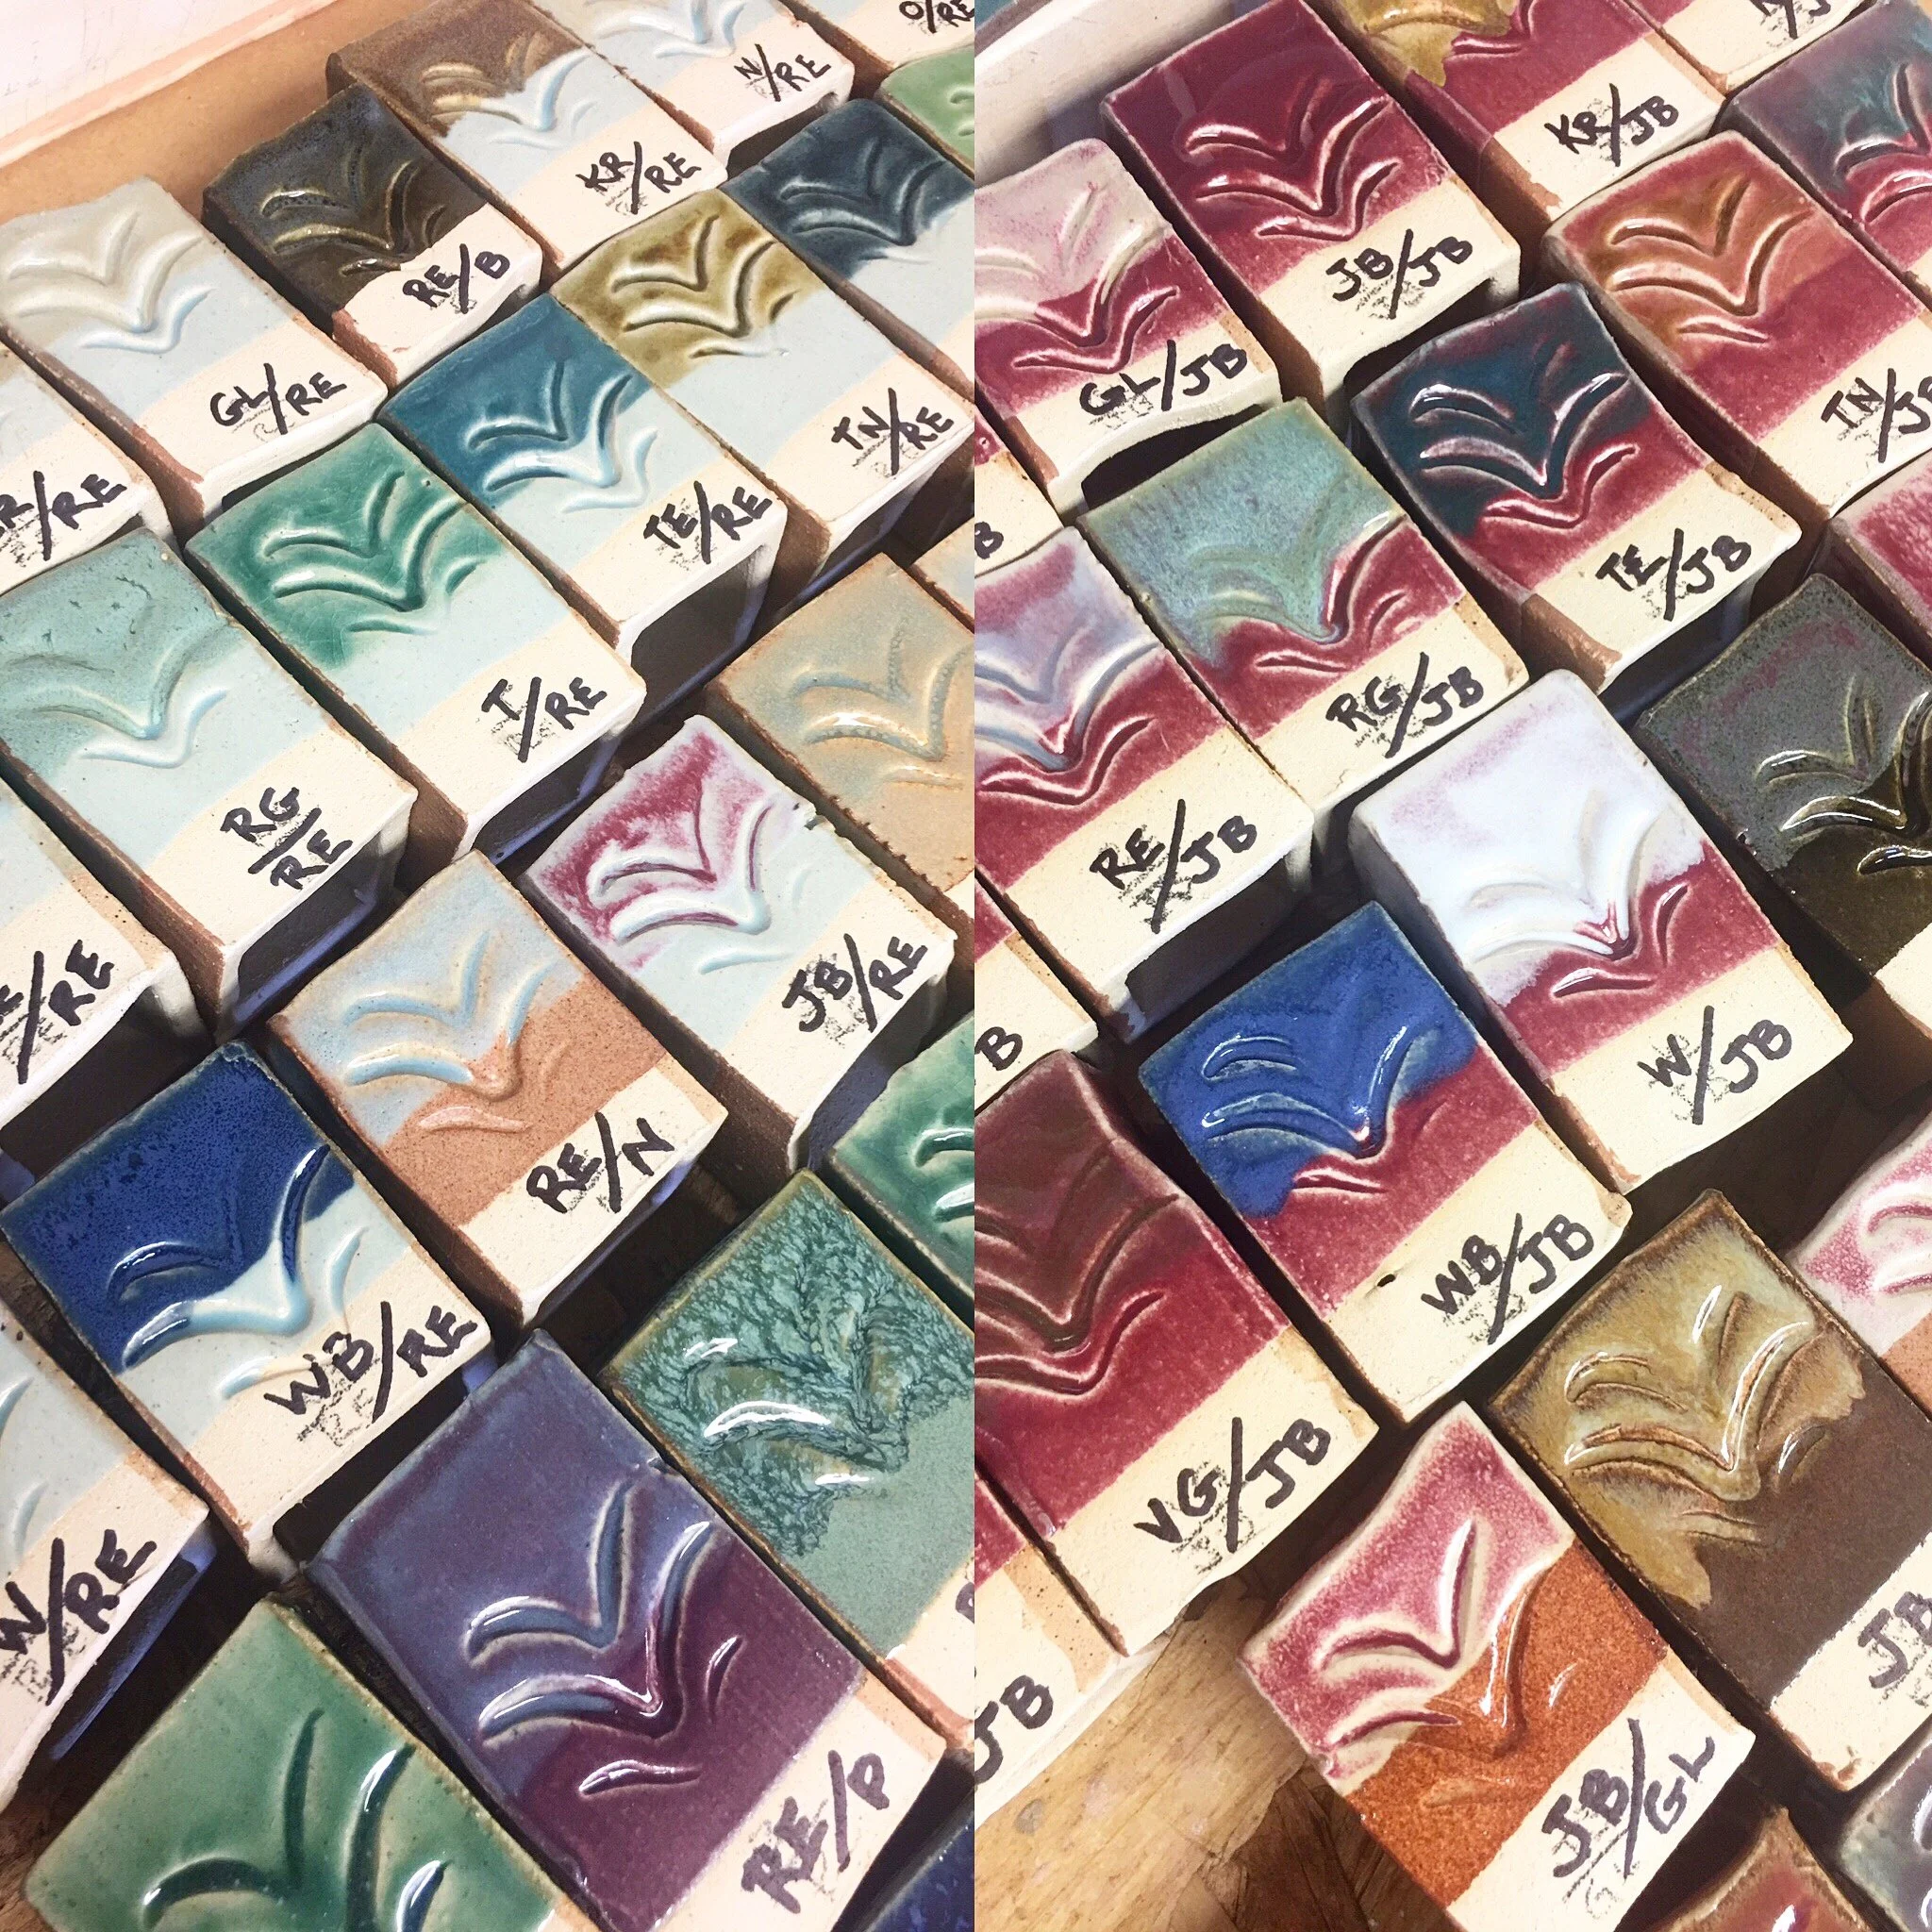
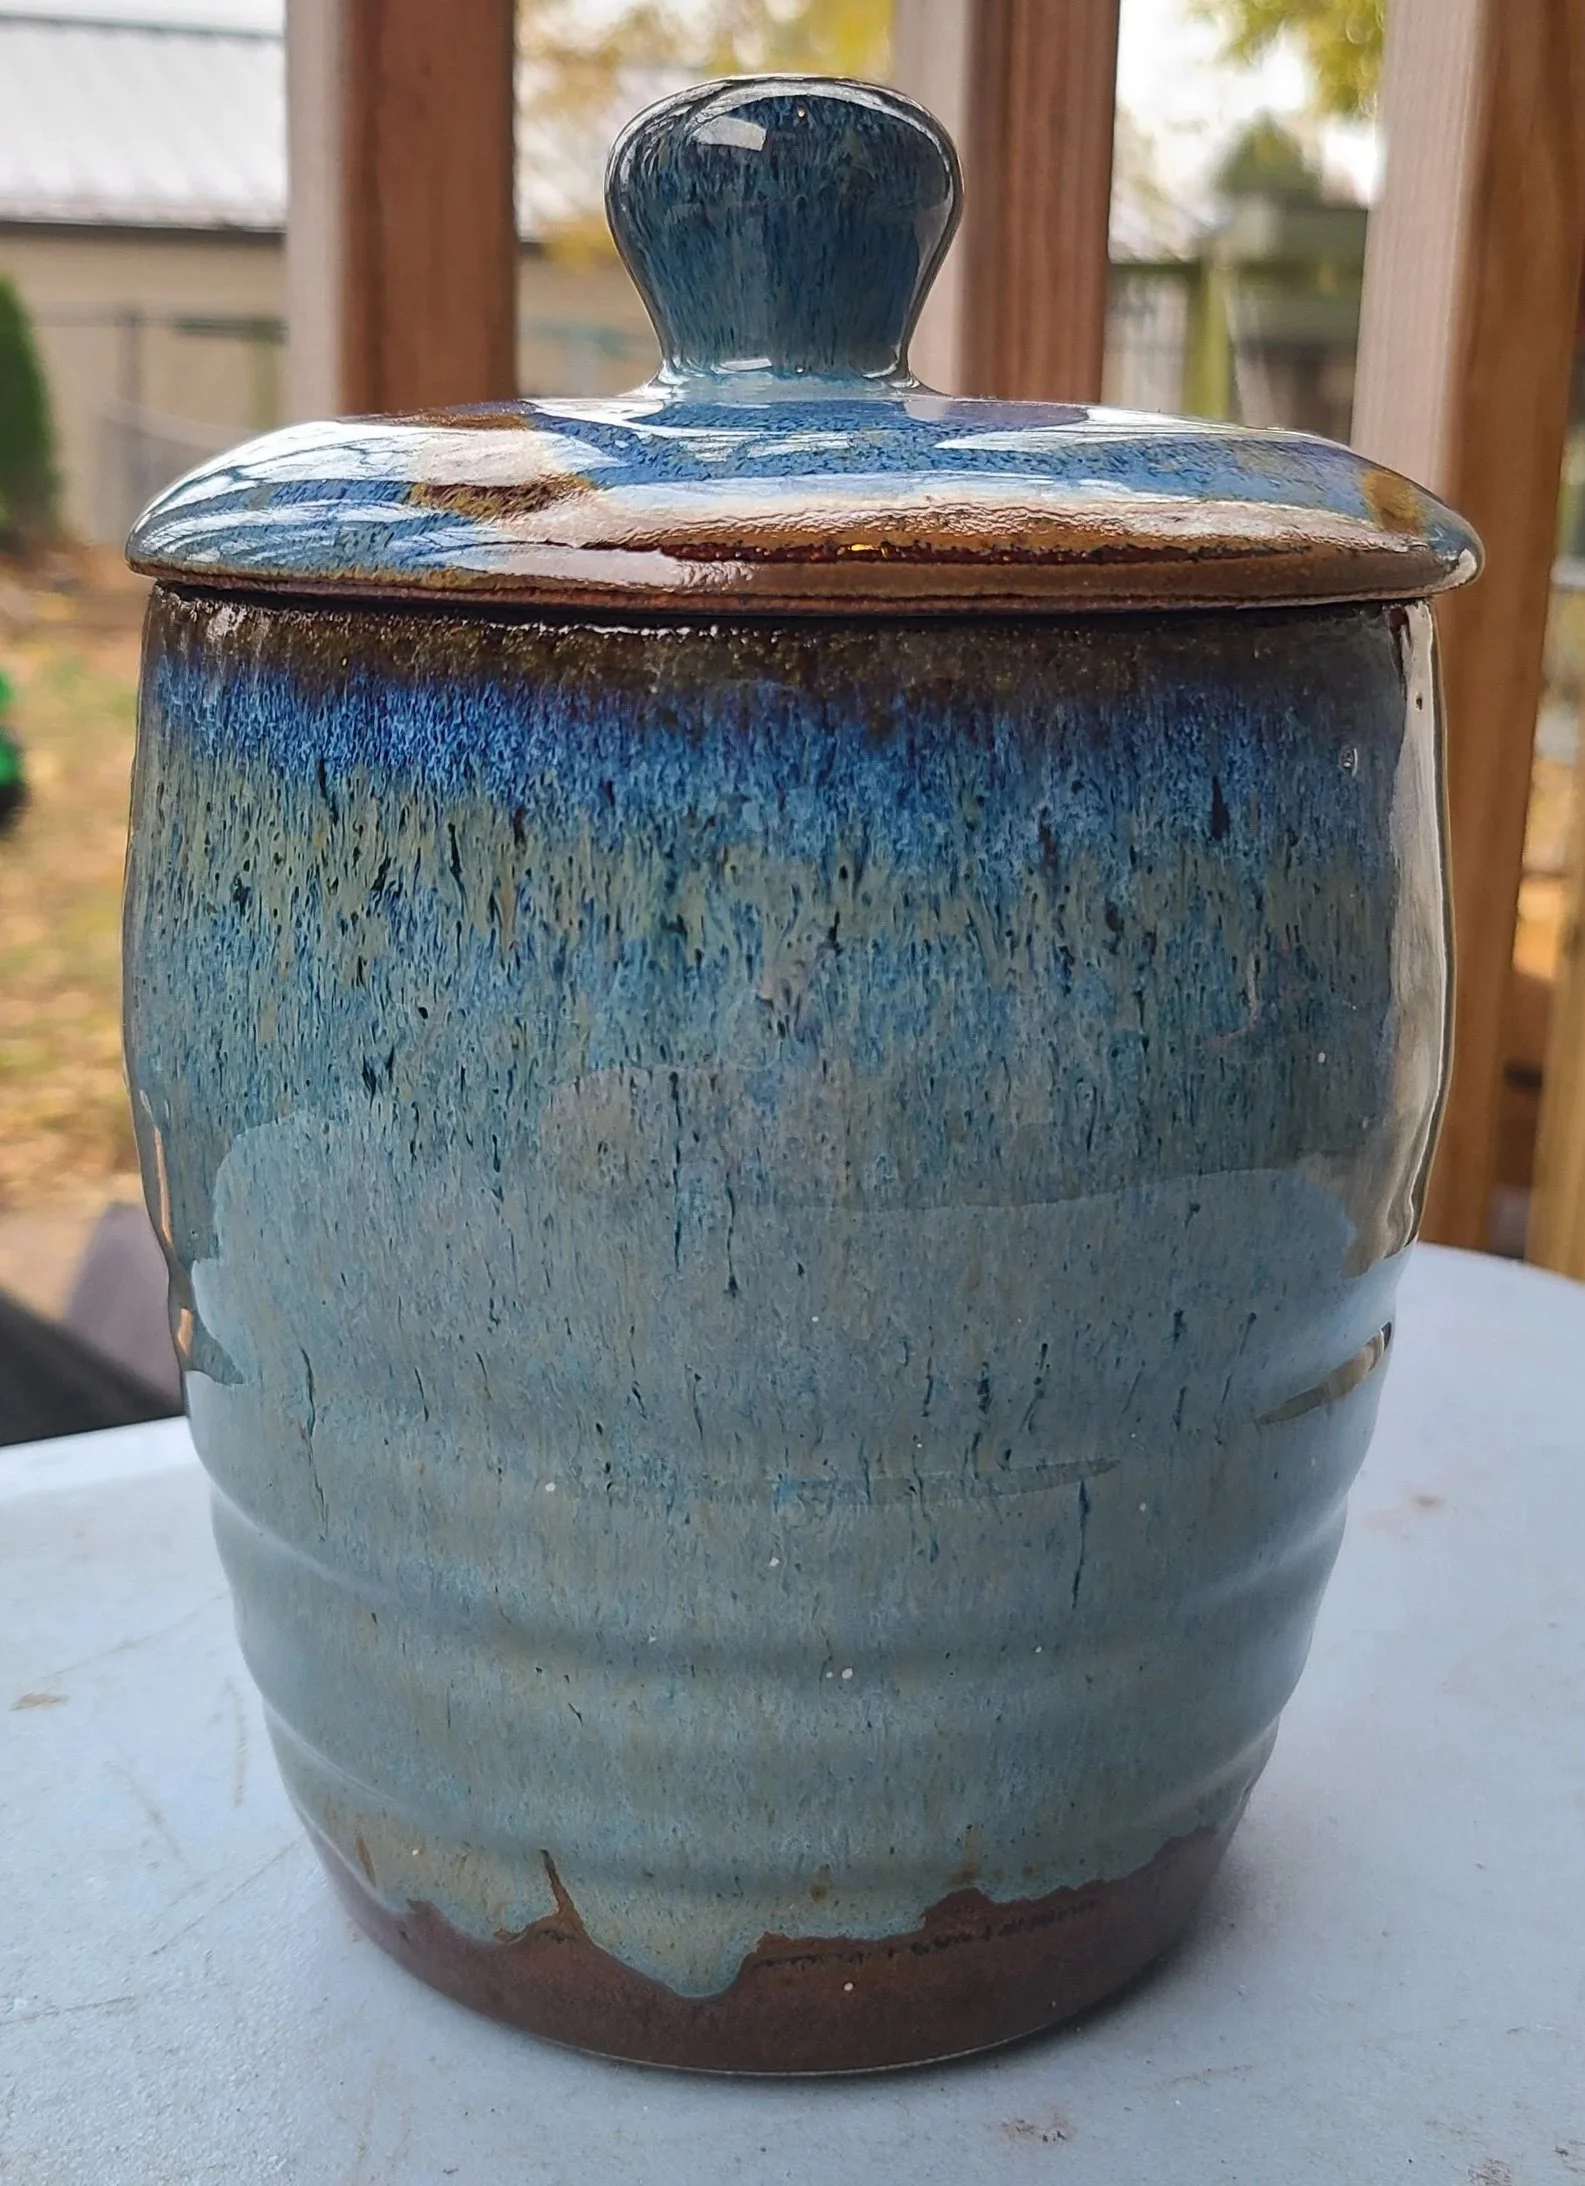
My eye, like many others, was drawn to a drippy glaze. The epic “glaze wall” in our studio had a couple contenders, but I settled for a Cash Blue over Ketchup Red combo to begin. Us drippy-glaze lovers are always chasing that cone 10 effect, but in a cone 6 firing, so fingers crossed this was the combo! I fired a mug with a tea diffuser that fit inside. The mug came out of the kiln and the drip was spectacular. The cash blue broke over the ketchup red like an electric green and blue waterfall. It flowed and moved, and it was exactly what I was looking for. The color and the effect were perfect, but then I noticed small, random holes around the tea diffuser. Deep, sharp pockets that I knew weren’t supposed to be there. My heart dropped…pinholing.
Now, I’ve had this occur before, especially when layering glazes. But I loved this combination so much, I thought it was worth diving deeper. Pinholing occurs in a glaze fire when gases bubble up on your piece, forming little craters. Now multiple things make pinholing occur, so narrowing down what was exactly happening with this combo was going to be harder than I thought. The first step was to re-fire. If gas bubbles were forming during the fire, shouldn’t they already be formed at this point? No new ones should be there because it’s already fired. In theory, the glaze will re-run over top of said pinholes, right? So, let’s try a re-fire! Well…that did not fix the problem. The glaze did indeed re-run right off my mug onto the kiln cookie, but the pinholes were unscathed. Well, time to try something else…
I watched Florian Gadsby’s “My Advice on How to Glaze Pottery” on YouTube one morning and decided to give his tips a try. He shows his glaze has tiny little holes that appear after drying, a lot like the cash blue does over top the ketchup red. “Maybe this was the pinholing,” I thought to myself. I took another set of mugs, and I dipped them in ketchup red. I let them dry for 24 hours and then dipped them in cash blue. I let them dry overnight again, and when I returned to the studio this time, I meticulously rubbed each hole in with dried glaze. This had to be the answer, right? Wrong, again. It came out with the same amount of pinholes as any of the others.
So here we are, I failed again, but my curiosity wouldn’t let me quit. I dove into some reasons why, and a few things stood out. First, the thinner the application, the better (in this case). When the glaze is thick, there are more opportunities for gas bubbles to rise. Second, slowing the cooling temperature in the kiln can cure a lot of pinholing issues. I fire in our community kiln, so that aspect is out of my hands, but still very good to know. Lastly, what’s inside your specific clay body can be more prone to rising gas than other clays. I noticed the most pinholing in the red clay, a little less in the black clay, and the least in the white clay. The only thing that adds up there for me is the red clay has the most grog in it, so maybe this combination likes a smoother clay body? Again, just thinking out loud.
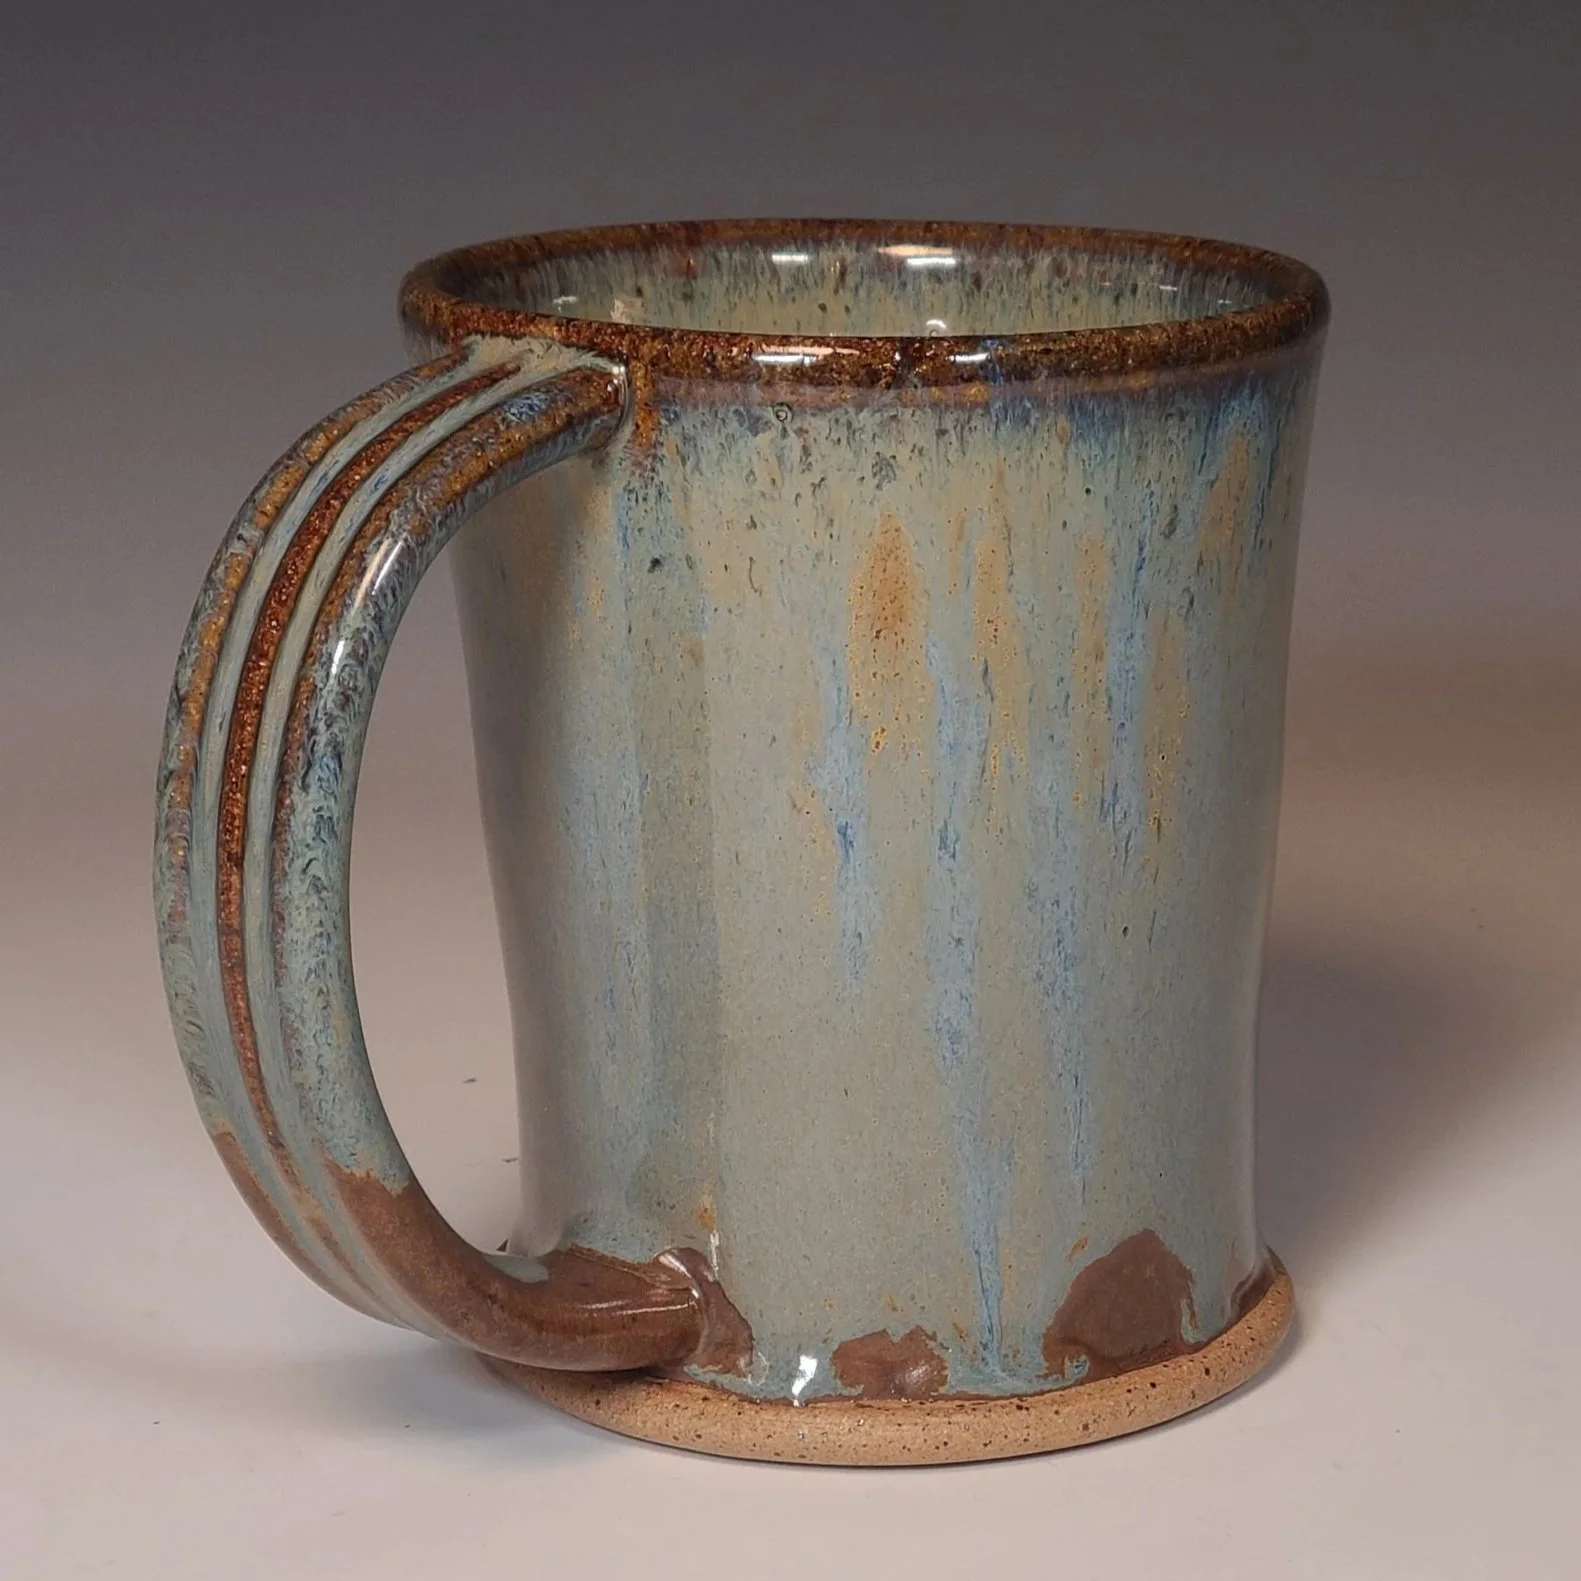
There are other things that cause pinholing, but these were the most common. I am in the process of changing up a few things each go around, because every time I learn something to make it a little better for next time. I’m not ready to give up on this beautiful, drippy combo, and if I figure out how to make it work, I’ll be beyond happy! I’ll say, my latest piece was a B-mix 5 mug. I did a full ketchup red dip on the mug, let it dry enough not to transfer any glaze into the cash blue, and then did a half dip only on the outside of the mug in the cash blue. I didn’t rub out any “holes” before putting it on the glaze shelf and it came out beautifully. There was one single pinhole on the lip of the mug, but I am taking it as a win!
I’ll be doing another round of this combination on some recently bisqued B-mix 5 mugs, so come and find me around the studio if you’re interested in how the saga continues. On the other hand, I have loved seeing other artists using this combo around the studio, so if you have any tips or tricks yourself, or just simply want to share, I’d love to see it! Happy glazing and may your glazes come out pinhole free in the future!
By Alicia Williams
Works Cited
“Clay & Glaze Types - Glazy.” Glazy.org, Glazy Help, 5 May 2025,
help.glazy.org/concepts/types.
Florian Gadsby. “My Advice on How to Glaze Pottery.” YouTube, 19 Oct. 2025,
www.youtube.com/watch?v=_YDa_-hRGEw.
Hansen, Tony. “Pinholing.” Digitalfire.com, 2025, digitalfire.com/glossary/pinholing.